Part 1: Create Definition File 
Setup the Environment
I recommend using a dedicated RHEL build server for this process. Doing so, you will be better setup for a completely automated process in the future using Ansible. Below are the requirements:
| Requirement | Installation | Notes |
|---|---|---|
| python3.9 | dnf install python39 |
Minimum required python version for ansible-builder version 3 |
| pip | dnf install python39-pip |
|
| ansible-builder | python3.9 -m pip install ansible-builder>=3.0.0 |
Minimum required library version for ansible-builder schema version 3 |
| ansible-navigator | python3.9 -m pip install ansible-navigator --userecho 'export PATH=$HOME/.local/bin:$PATH' >> ~/.profile |
[Optional] |
Setup build directory
BUILD_DIR="~/ansible-execution-env"

mkdir -p $BUILD_DIR
touch $BUILD_DIR/execution-environment.yml

mkdir $BUILD_DIR/files
touch $BUILD_DIR/files/ansible.cfg
Create the definition file
I won't be covering every possible configuration option, but I will hit on the common options used by customers I have supported. View the full schema here.
---
# Latest ansible-builder schema (3/4/2024)
version: 3

# [1]
images:
  base_image:
    name: registry.redhat.io/ansible-automation-platform-24/ee-minimal-rhel8:latest

# [2]
options:
  package_manager_path: /usr/bin/microdnf

# [3]
dependencies:
  system:
    - git
  python:
    - jmespath==0.10.0
  galaxy:
    collections:
      - name: ansible.controller
        version: "4.5.1"

# [4]
additional_build_files:
  - src: files
    dest: configs

# [5]
additional_build_steps:
  prepend_galaxy:
    - COPY _build/configs/ansible.cfg /etc/ansible/ansible.cfg
| Comment | Details |
|---|---|
| [1] | The base image specified determines the underlying OS and some packages available in the resulting execution environment |
| [2] | Depending on the base image, you may need to specify the path to the package manager (default: /usr/bin/dnf) |
| [3] | Add your dependencies here, follow the schema for each section [system] [python] [galaxy] |
| [4] | Additional files to inject and use in the build context. For example, you may want to setup an ansible.cfg, manage custom certificates, or add a Kerberos configuration. |
| [5] | The actual step to leverage an injected file. In this case, we are copying our custom ansible.cfg before the galaxy stage. Other build hooks are exposed (view here). |
Create an Ansible config file
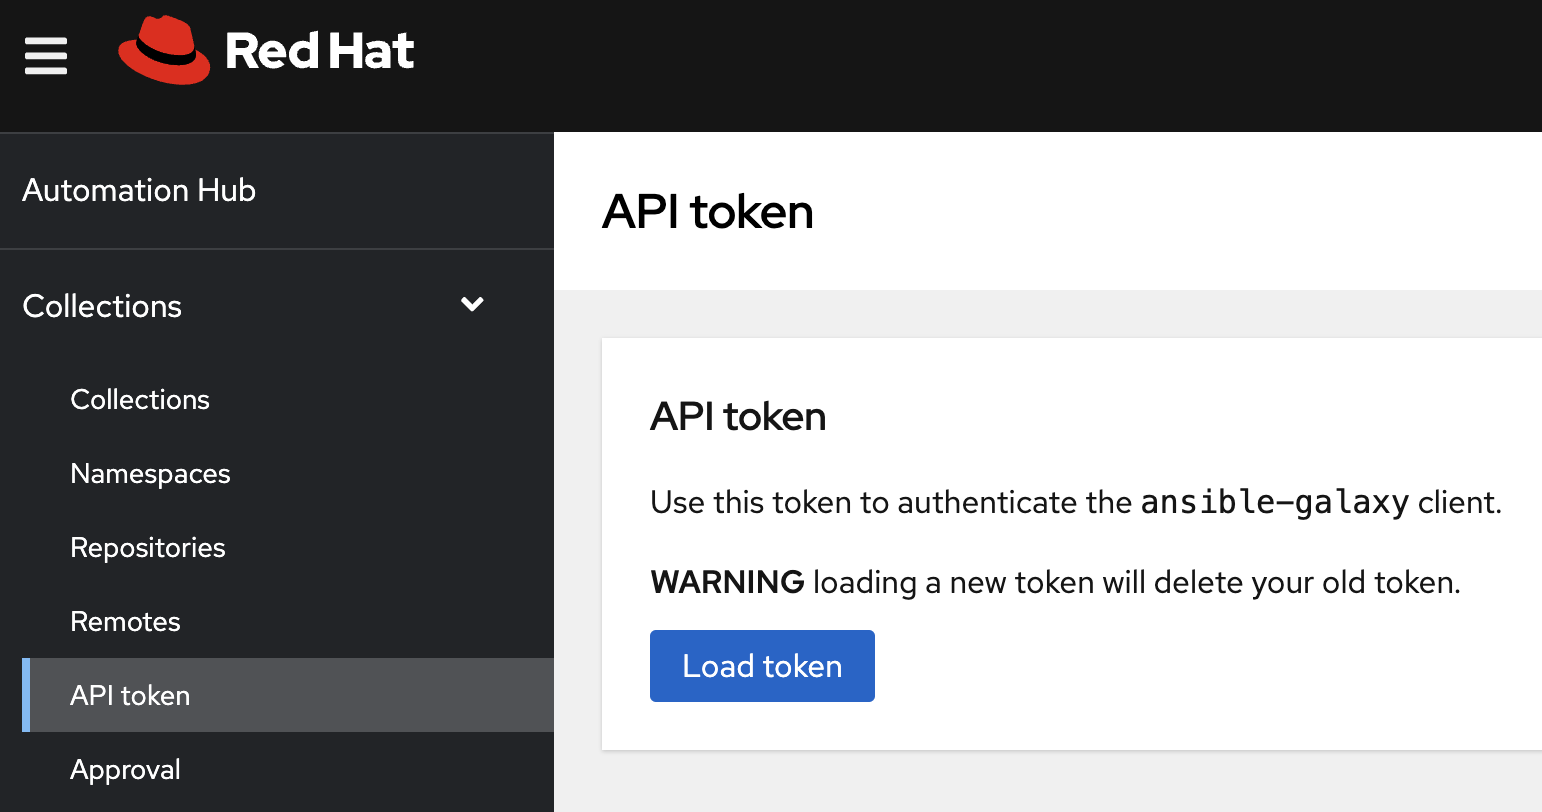
Before you get started, navigate to your private Automation Hub and load an API token. This will be used in place of <PRIVATE_AUTOMATION_HUB_TOKEN> in the example config file below.
Warning
Skip this step if you already have a token available, as it will invalidate an existing token.
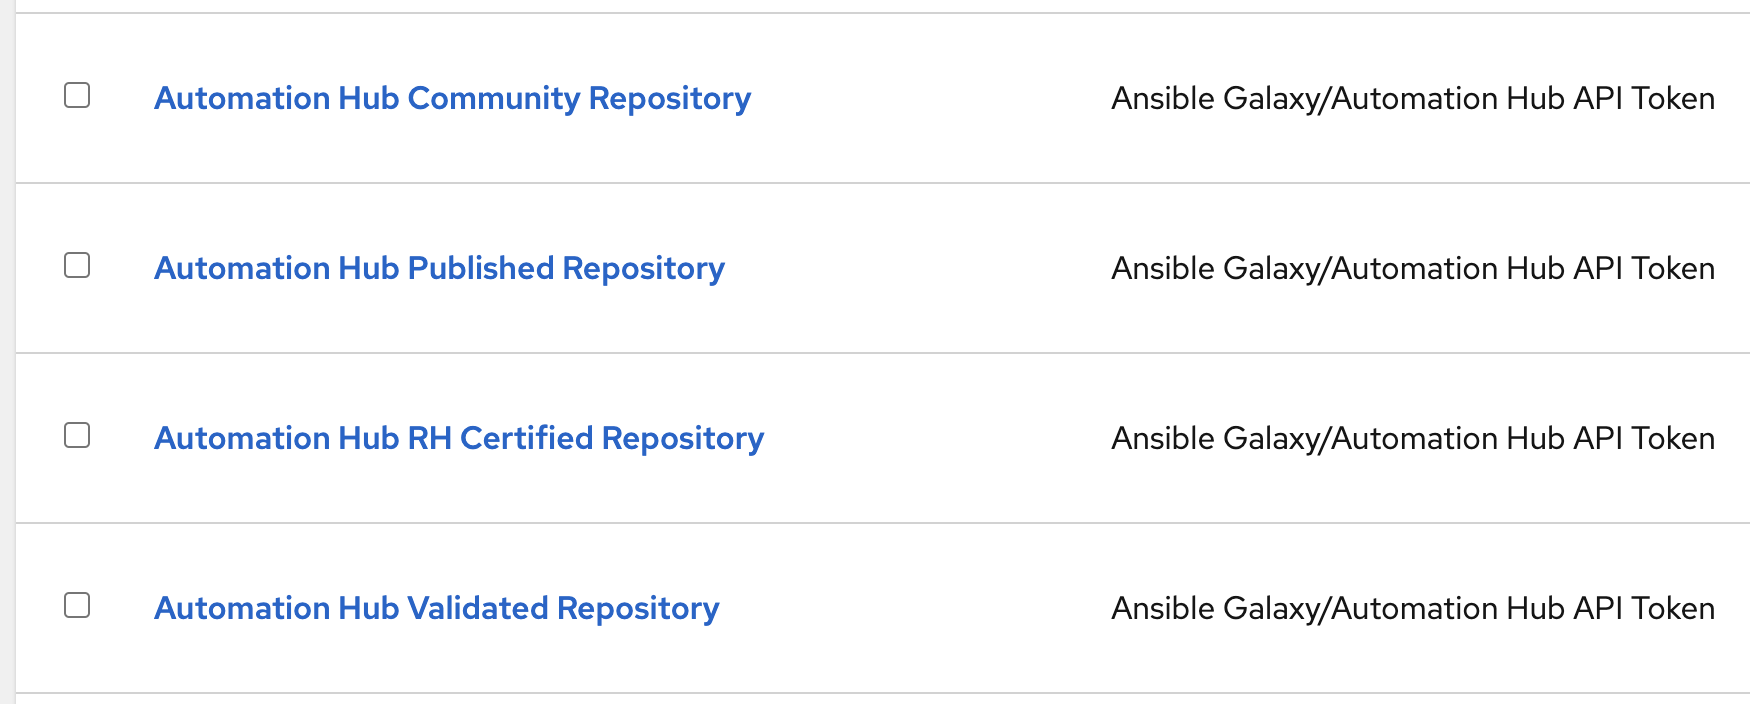
Update the following Credentials for each repository in your Controller instance with the newly generated token. If you have created additional Credentials for accessing your Private Automation Hub, then be sure to update those as well.
# The order in which you server list is defined will determine where galaxy looks first
[galaxy]
server_list = pah_rh_certified, pah_validated, pah_published, pah_community

[galaxy_server.pah_rh_certified]
url=https://<PRIVATE_AUTOMATION_HUB_HOST>/api/galaxy/content/rh-certified/
token=<PRIVATE_AUTOMATION_HUB_TOKEN>

[galaxy_server.pah_validated]
url=https://<PRIVATE_AUTOMATION_HUB_HOST>/api/galaxy/content/validated/
token=<PRIVATE_AUTOMATION_HUB_TOKEN>

[galaxy_server.pah_published]
url=https://<PRIVATE_AUTOMATION_HUB_HOST>/api/galaxy/content/published/
token=<PRIVATE_AUTOMATION_HUB_TOKEN>

[galaxy_server.pah_community]
url=https://<PRIVATE_AUTOMATION_HUB_HOST>/api/galaxy/content/community/
token=<PRIVATE_AUTOMATION_HUB_TOKEN>

# [galaxy_server.redhat_published]
# url=https://console.redhat.com/api/automation-hub/content/published/
# auth_url=https://sso.redhat.com/auth/realms/redhat-external/protocol/openid-connect/token
# token=<RH_AUTOMATION_HUB_TOKEN>

# [galaxy_server.release_galaxy]
# url=https://galaxy.ansible.com/
| Server | Description |
|---|---|
| pah_rh_certified | The rh_certified repository acts as a mirror for Red Hat's certified content repository. You can sync all (or a subset) of the collections certified by Red Hat. The synced content is determined by a requirements.yml file associated with the remote in your Private Automation Hub. |
| pah_validated | The validated repository only differs from rh_certified by what's included:Ansible validated content provides an expert-led path for performing operational tasks on a variety of platforms including both Red Hat and our trusted partners. |
| pah_published | The published repository contains content you have created. Early on in your Ansible journey, this may not be used. As your AAP usage matures, teams might want to develop internal collections and share them within the organization. The published repository is where internal content should be hosted. |
| pah_community | The community repository is intended to mirror (public) Ansible Galaxy content that you have vetted and approved for use within your organization. Since Galaxy is wide open, you would never want to mirror the entire index. Modify the remote configuration by defining a requirements.yml which specifies what community content to sync. |
| redhat_published | This server config is commented out because you should be mirroring Red Hat's server via pah_rh_certified. However, if you are simply testing something out and have easier access to console.redhat.com than a private automation hub, then this may come in handy. Generate a token for Red Hat's repository here. |
| release_galaxy | This server config is commented out because mirroring a subset of public Galaxy content via pah_community. As you can see, this config has no token - useful for learning, but not recommended for use in production. |
Let it Rip
Congrats, you are ready to run ansible-builder! Move on to Part 2 ➡️